Sometimes you might need to save some frames from your video as image files. It is possible to use them as screenshots for the preview of your personal video presented on the web, for example.
AVS Video Converter allows you to extract a single frame or save frames in batch at a time interval or at previously chosen chapters in a few clicks.
Click here to download it. After the download is finished, run the AVSVideoConverter.exe file and follow the installation wizard instructions.
[Back to the Top]
To select a video you would like to convert hit the Browse... button next to the Input File Name field. In the opened Windows Explorer window browse for the necessary video file:

 Note
Note: when your input is a DVD disc, you will need to select the path to your source file: X:\Video_TS\Video_TS.IFO. "X" stands for your DVD-ROM or the hard disk drive folder where your DVD is stored. Please see the
online help section to find more on how to convert your home DVDs to other video formats.
[Back to the Top]
Click the Edit button on the Main Toolbar to open the Edit Input File(s) window.

[Back to the Top]
To save a single frame at the current cursor position use the Snapshot button located in the Preview Area.

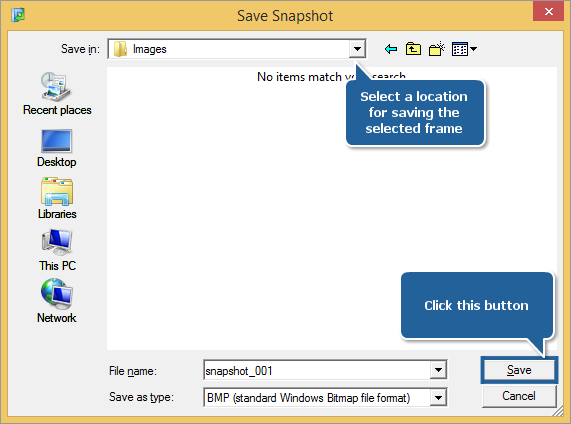
The Save Snapshot window will be opened. Select a folder for saving the chosen frame in it, a file name and one of the available image formats (BMP, WMF, EMF JPEG, GIF, PNG or TIFF), then press the Save button.

[Back to the Top]
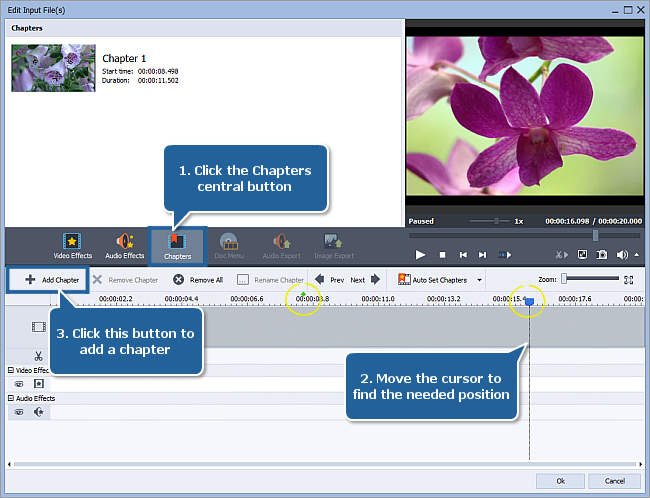
Press the Image Export central button in the Edit Input File(s) window.

The Export Images window will be opened allowing you to adjust the parameters of frames you want to extract.
[Back to the Top]
In the Settings section select the mode for exporting images.

You can choose between the following three options:

- Save all frames - check this option if you need to export every frame from your video file.
 Note
Note: if you have a large video file, it may take a lot of empty space on your hard drive to save all the frames depending on the selected output image format.
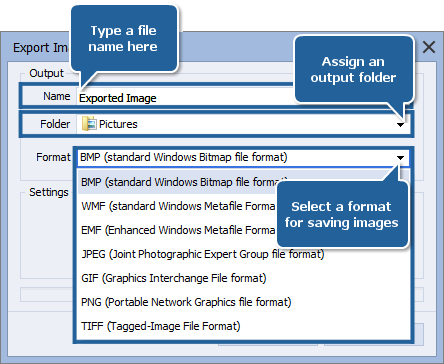
In the Output section of the Export Images window you can:
- define the resulting image name in the Name field.
- assign a folder where you want your exported images to be saved. Choose one of the predetermined folders or select the Browse option to assign your own folder on your computer HDD.
- select the desired format for saving images from the Format drop-down list. The available formats are BMP, WMF, EMF JPEG, GIF, PNG and TIFF.

[Back to the Top]
After you have adjusted all the parameters, click the Save button to start exporting.

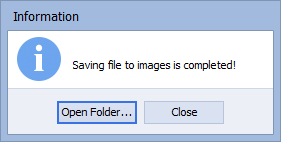
You will see the overall progress on the progress bar in the lower part of the Export Images window. When saving is over, the Information window will appear allowing you to open the destination folder.

Now you can view your exported image files and use them in your subsequent work.
[Back to the Top]
Version: 12.0.1.650Size: 80.45 MBPlatforms: Windows 10, 8.1, 8, 7, XP, 2003, Vista
(no Mac OS/Linux support)
Download
AVS Video Converter
Registration on AVS4YOU is like buying a single product listed on
www.AVS4YOU.com and getting all other products from our site as a gift. That means you can install and use
ALL OTHER software with the same serial number without additional fees and limitations.
Please note that AVS4YOU programs do not allow you to copy protected material. You may use this software in copying material in which you own the copyright or have obtained permission to copy from the copyright owner.